TGA Projects
Tools
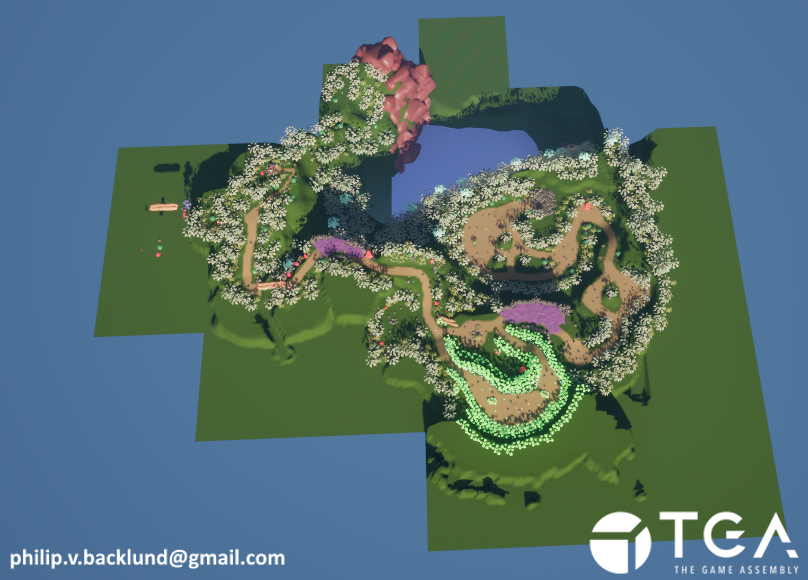
Unreal Landscape Export
My goal with the landscape export was to be able to get the landscapes from unreal with the texture painting data by just exporting a level without any additional work from anyone.We needed the landscape to be divided into chunks so I exported it as multiple pieces for our occlusion culling. I found the easiest way of doing this was to use world partitioning in unreal as it divides landscapes automatically and then I can just export each chunk as individual FBX files.
For the texture painting layers data I decided to save it as vertex color in the FBX files which made it very easy to access the data when writing the landscape shader for our game.
One issue that came up was that one of the landscapes had black lines across it which at first we could not figure out why. I tried to do some quick bandaid fixes for it which helped but did not solve the issue. Once I figured out it was because the landscape was rotated a bit I set the landscape rotation to 0,0,0 before reading the texture paint data and once finished rotate it back which worked perfectly.
The landscape in unreal
 The landscape in blender after exporting
The paint data is saved as vertex color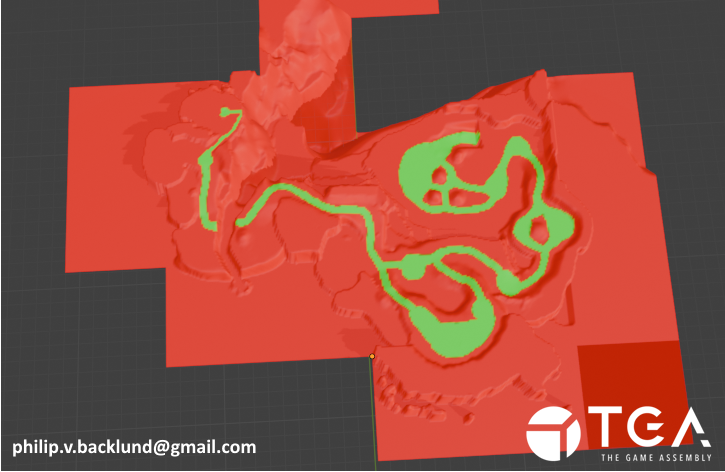
The landscape in blender after exportingThe paint data is saved as vertex color
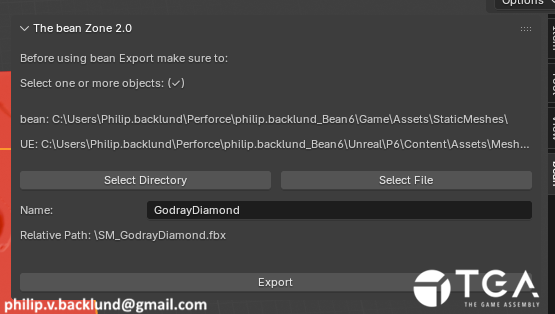
Blender Exporter
Because we use Unreal as a level editor, our assets need to exist in both the Unreal project and the Bean ( our engine ) project.To simplify this, I built an exporter that sends assets to both the Unreal and Bean asset folders at the same time.
Since Perforce sets tracked files as read-only until they’re checked out, we previously had to manually locate both the Bean and Unreal files in Perforce and check them out before exporting, which was tedious.
To avoid this I added perforce integration to the plugin using p4 commands. I added the ability to checkout files or make them writable through the blender plugin. It also will display the file status like if the file is unlocked, writable or checked out by you or someone else.
This allowed us to work in blender without touching the Perforce application until it was time to push our changes.
The export window
Shaders
Two Planar
To make the level designers work easier I made a 2 planar uv function. Why not triplanar? Because we wanted to use 45° walls and tri planar causes stretching on anything not perfectly aligned with the world axis.The ground was done by using the two horizontal world coordinates ( X & Z ).
For the walls, to avoid any stretching, I rotate the world coordinates to face the normal direction, I then use the right and up ( X & Y ) from the rotated coordinates.
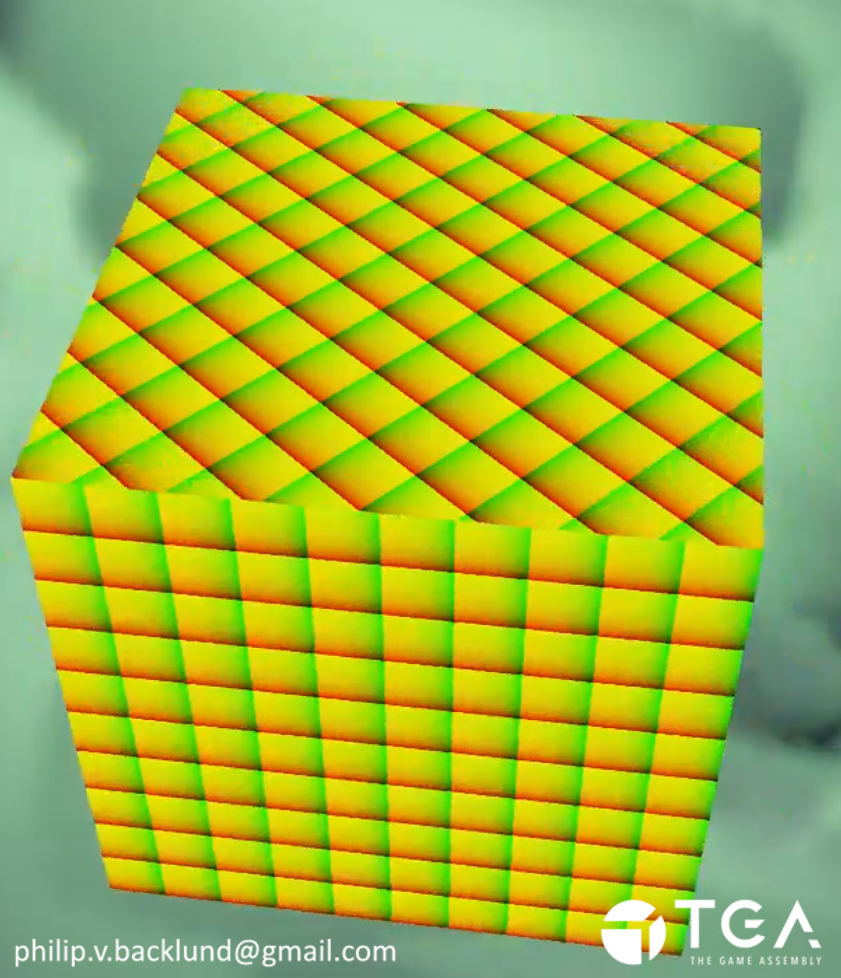
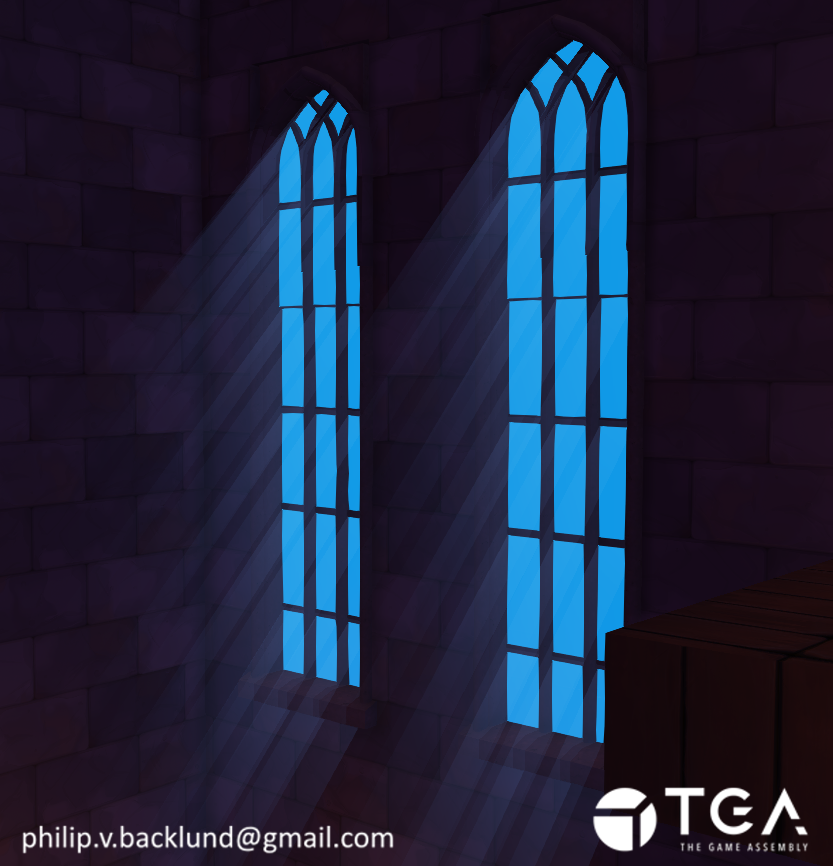
Godrays
I made a godray shader and godray meshes that was just the window planes extruded and shaped like gordays.Once it came time to iterate on the godray direction and length I realized how time consuming it would be to tweak all the meshes.
To save time on iteration I changed the godray meshes to just be extruded 1 meter straight forward instead. To control the length and direction I used a vertex shader that moves the extruded vertices, allowing us to control all godrays by changing a few numbers instead of updating multiple meshes.