Steel Effigy
Intro
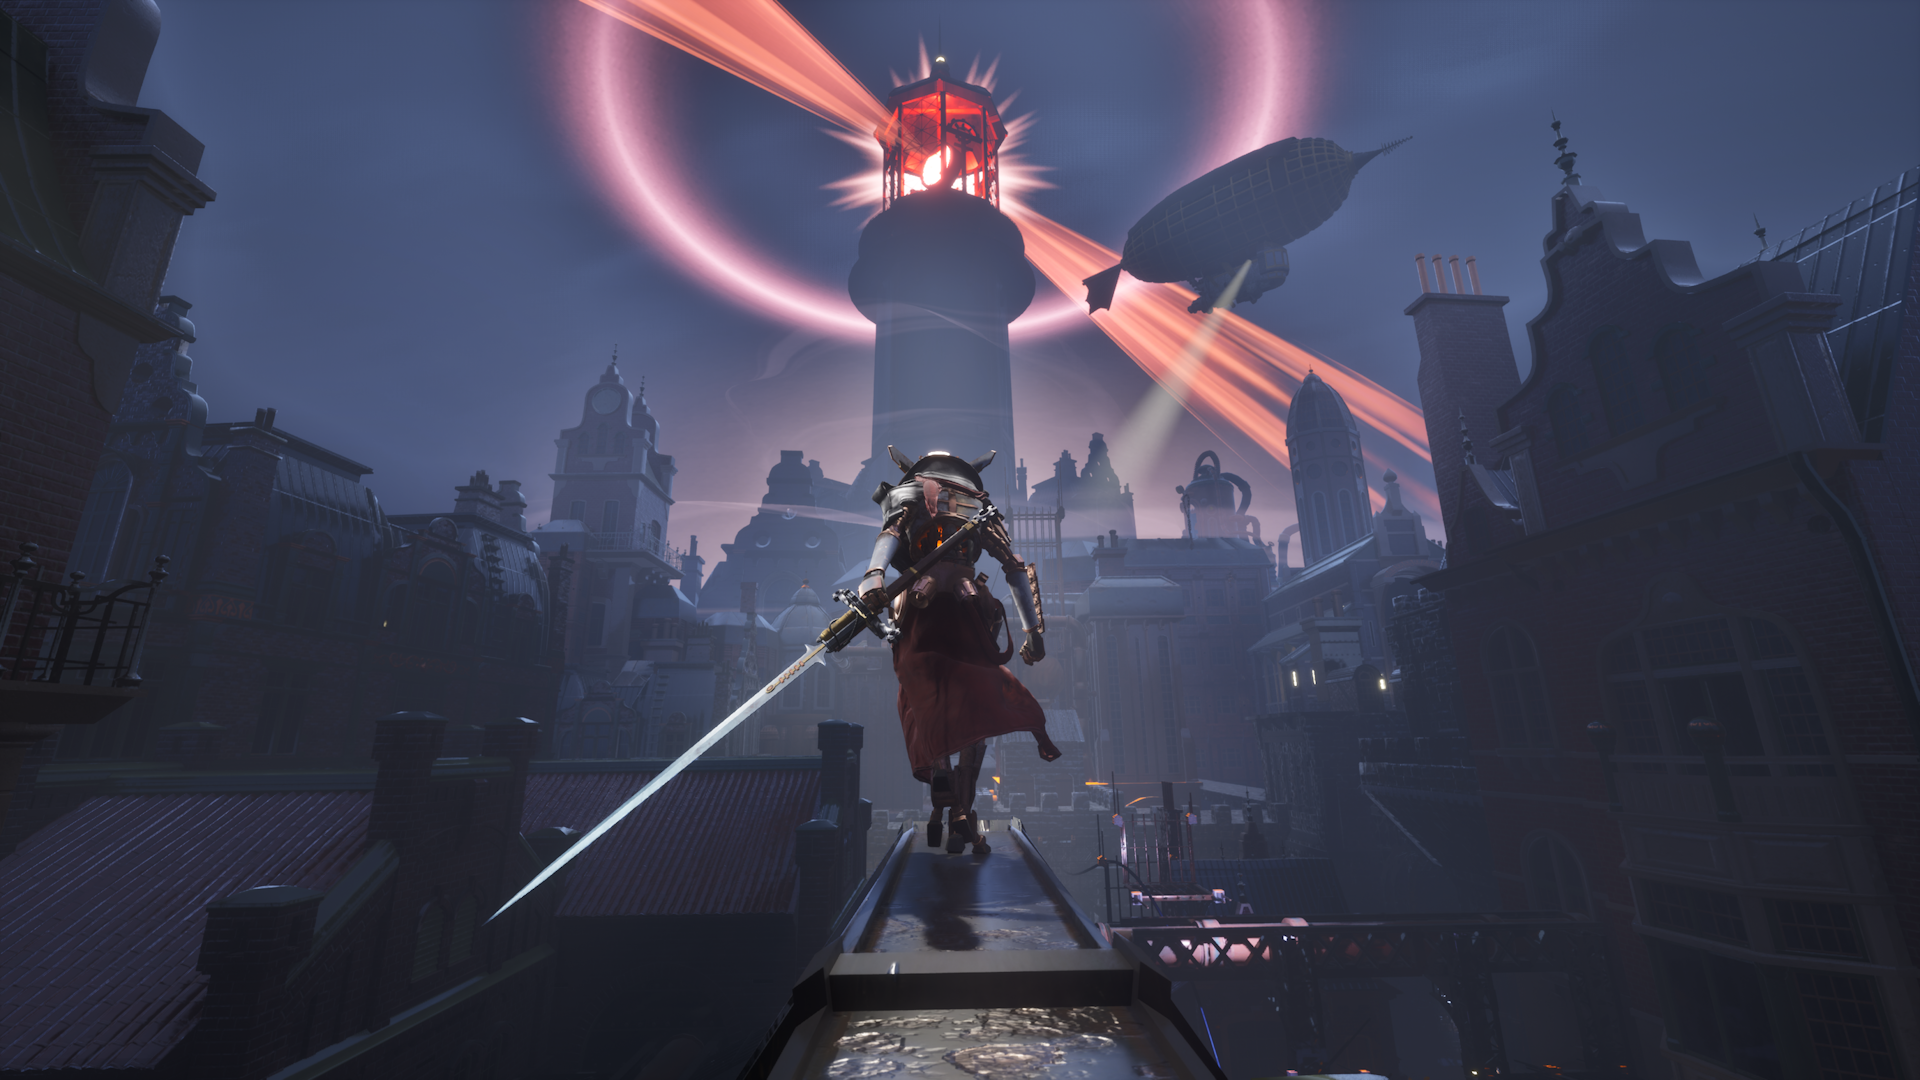
During my internship at Campground Interactive, I worked as a gameplay programmer on Steel Effigy, a 4 player online co-op hack and slash roguelike built in Unreal Engine 5 using the Gameplay Ability System.I worked on creating gameplay content like weapons and upgrades. I also worked on tracing improvements and general multiplayer bug fixing across the project. Towards the end of the internship, I started taking on more tech art related work to help reduce the workload on the art team, and also because it was something I enjoyed like the cutout effect shown bellow.
The portfolio contains the most fun and rewarding work I did at Campground Interactive.
Cutout Effect
Objects between the camera and the player would sometimes block the view, especially in areas with a lot of props like Boxes, Pillars or Street lights. Using camera collision to solve this wasn’t ideal, since the camera would constantly move in and out, which could feel disorienting.
The existing solution used a simple depth-based dithering effect that gradually removed objects between the camera and the player. It worked by defining a fade range where objects would go from fully visible to fully dithered out. In practice, this was difficult to tune. A short fade range made the dithering feel abrupt and unintentional, while a longer fade range would either leave objects still blocking the view, or cause them to start dithering while they were still in front of the player in order to fade out in time.
No cutout
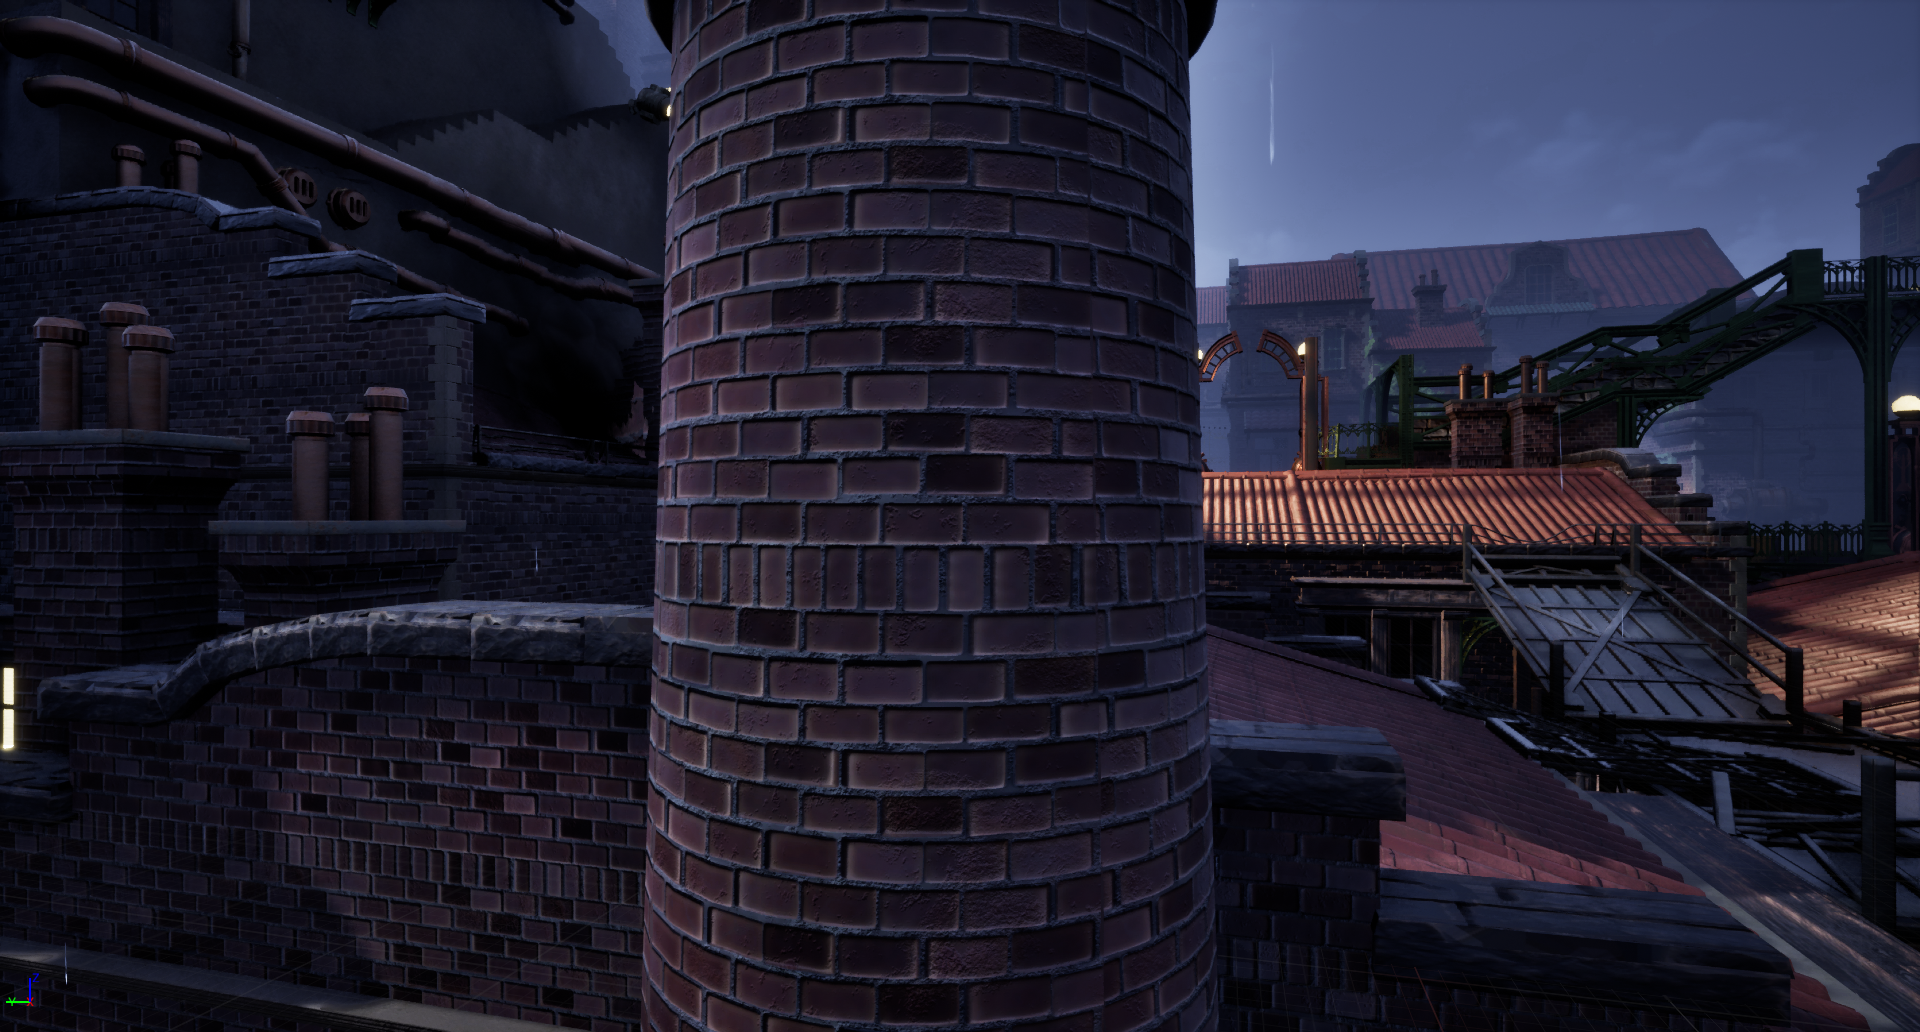 Cone Mask
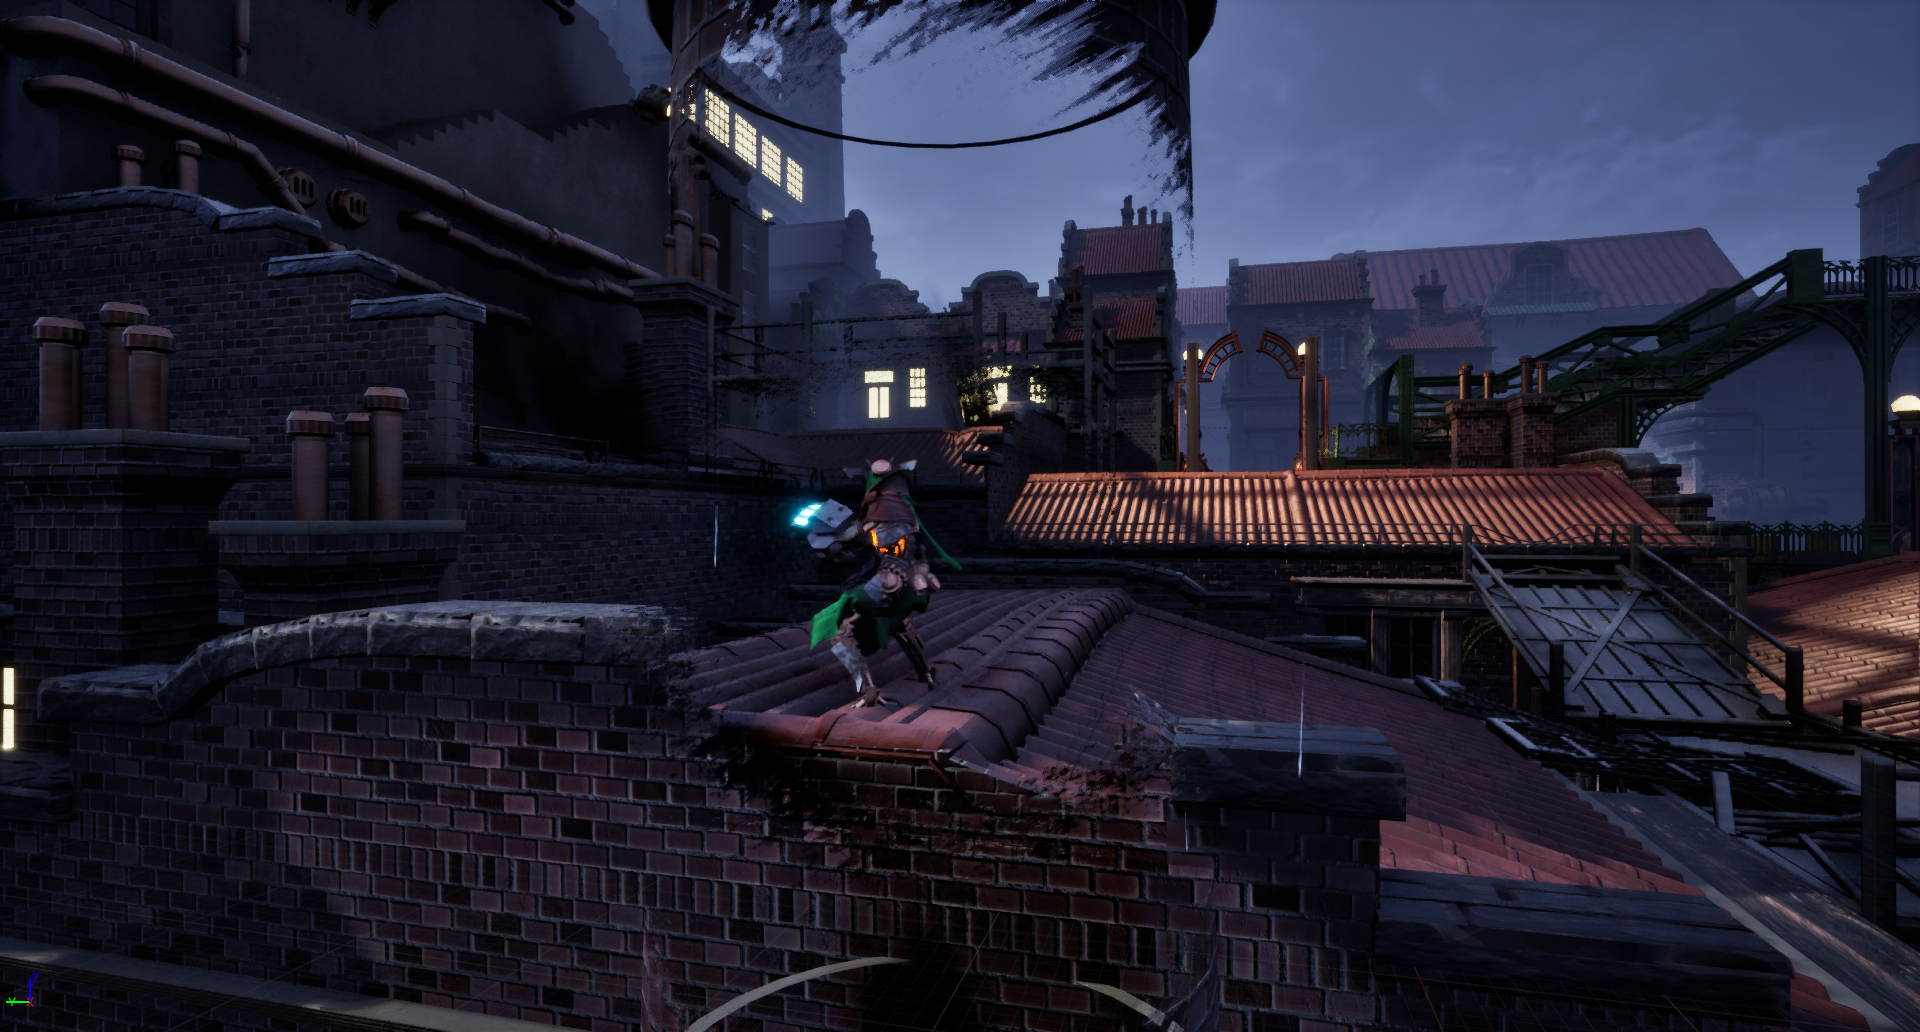
Cone Mask
To fix these issues, I replaced the depth fade with a cone-shaped mask between the camera and the player. I added a depth mask so only geometry between the camera and the player is affected, along with noise to make the fade less uniform and more visually interesting. This gave more control over how much of the area around the player is cut out, and allowed a more aggressive fade without it feeling like camera clipping.
One issue was that fully dithered objects could disappear completely, which meant the player could lose awareness of what was blocking their movement. In some cases, parts of the floor could also be cut out when it shouldn’t be. To address this, I added a height mask that keeps anything below knee height. This prevents the ground from being cut away and leaves a small stump of the objects, helping with readability of the environment while still keeping the player visible.
Depth Mask
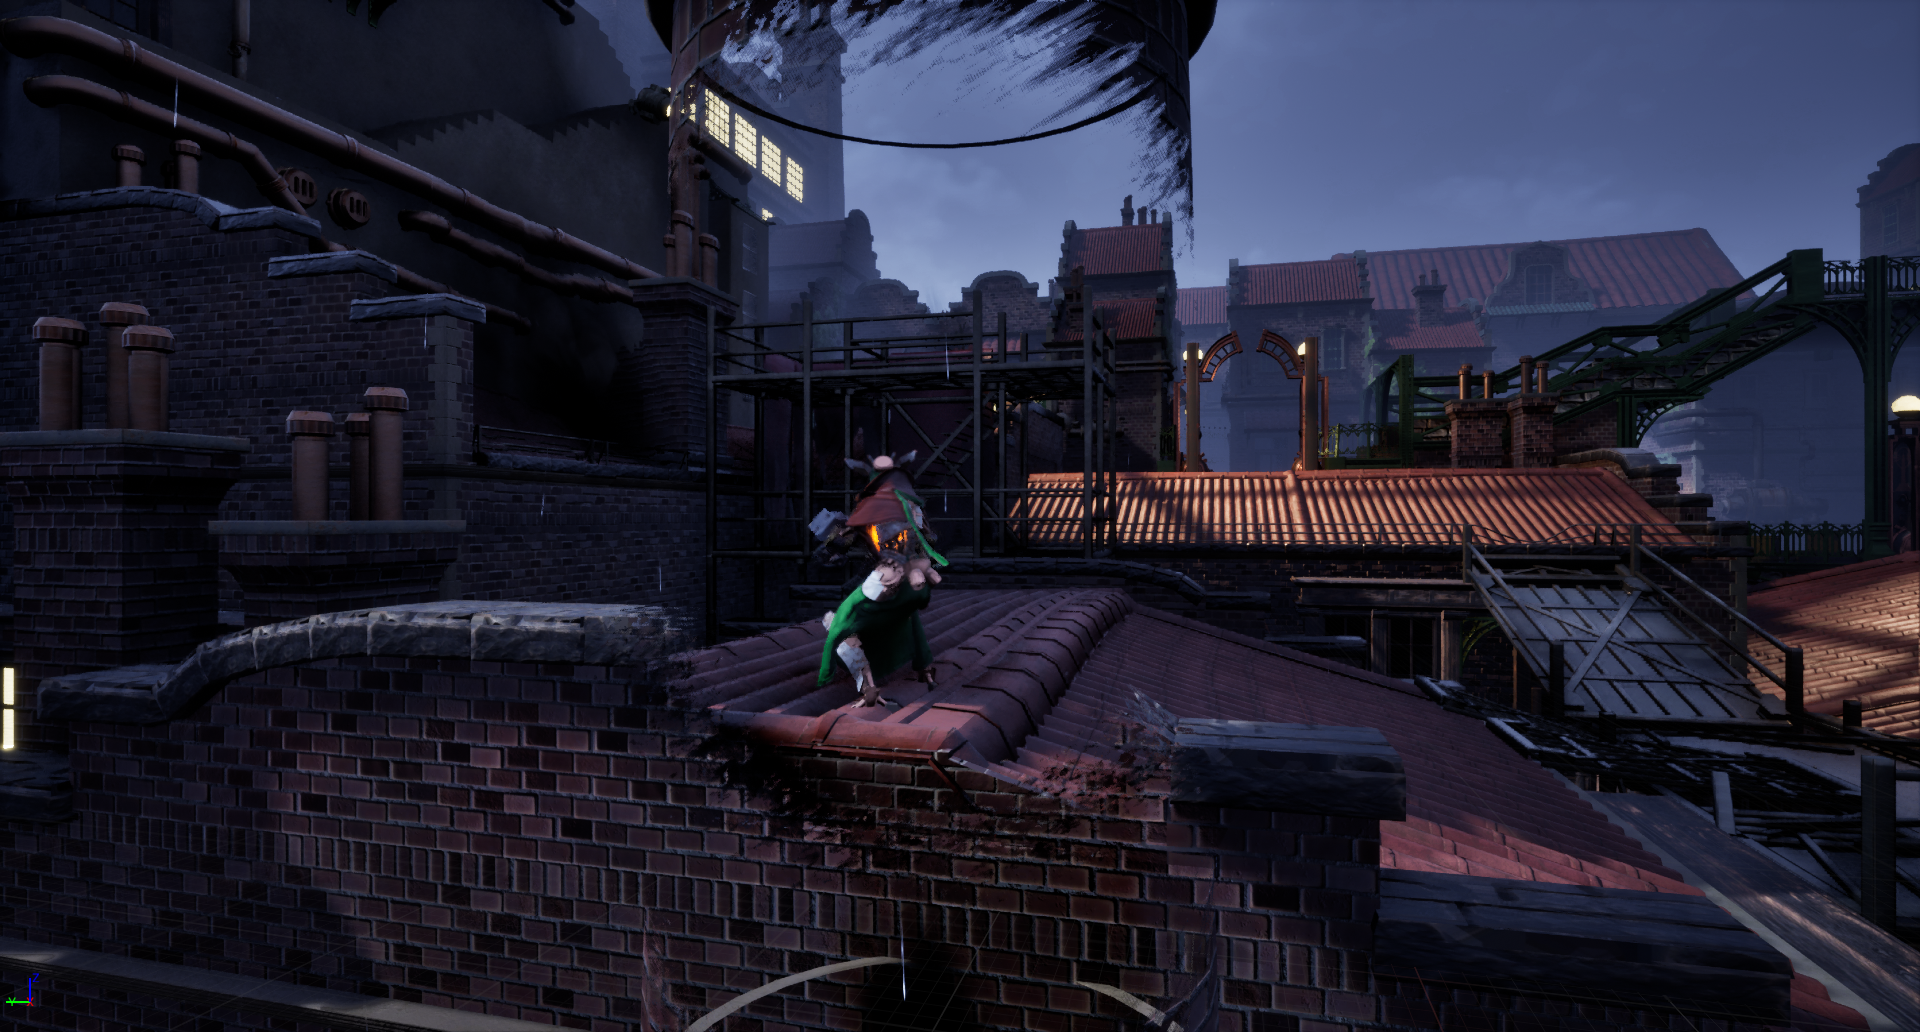 Stump Mask
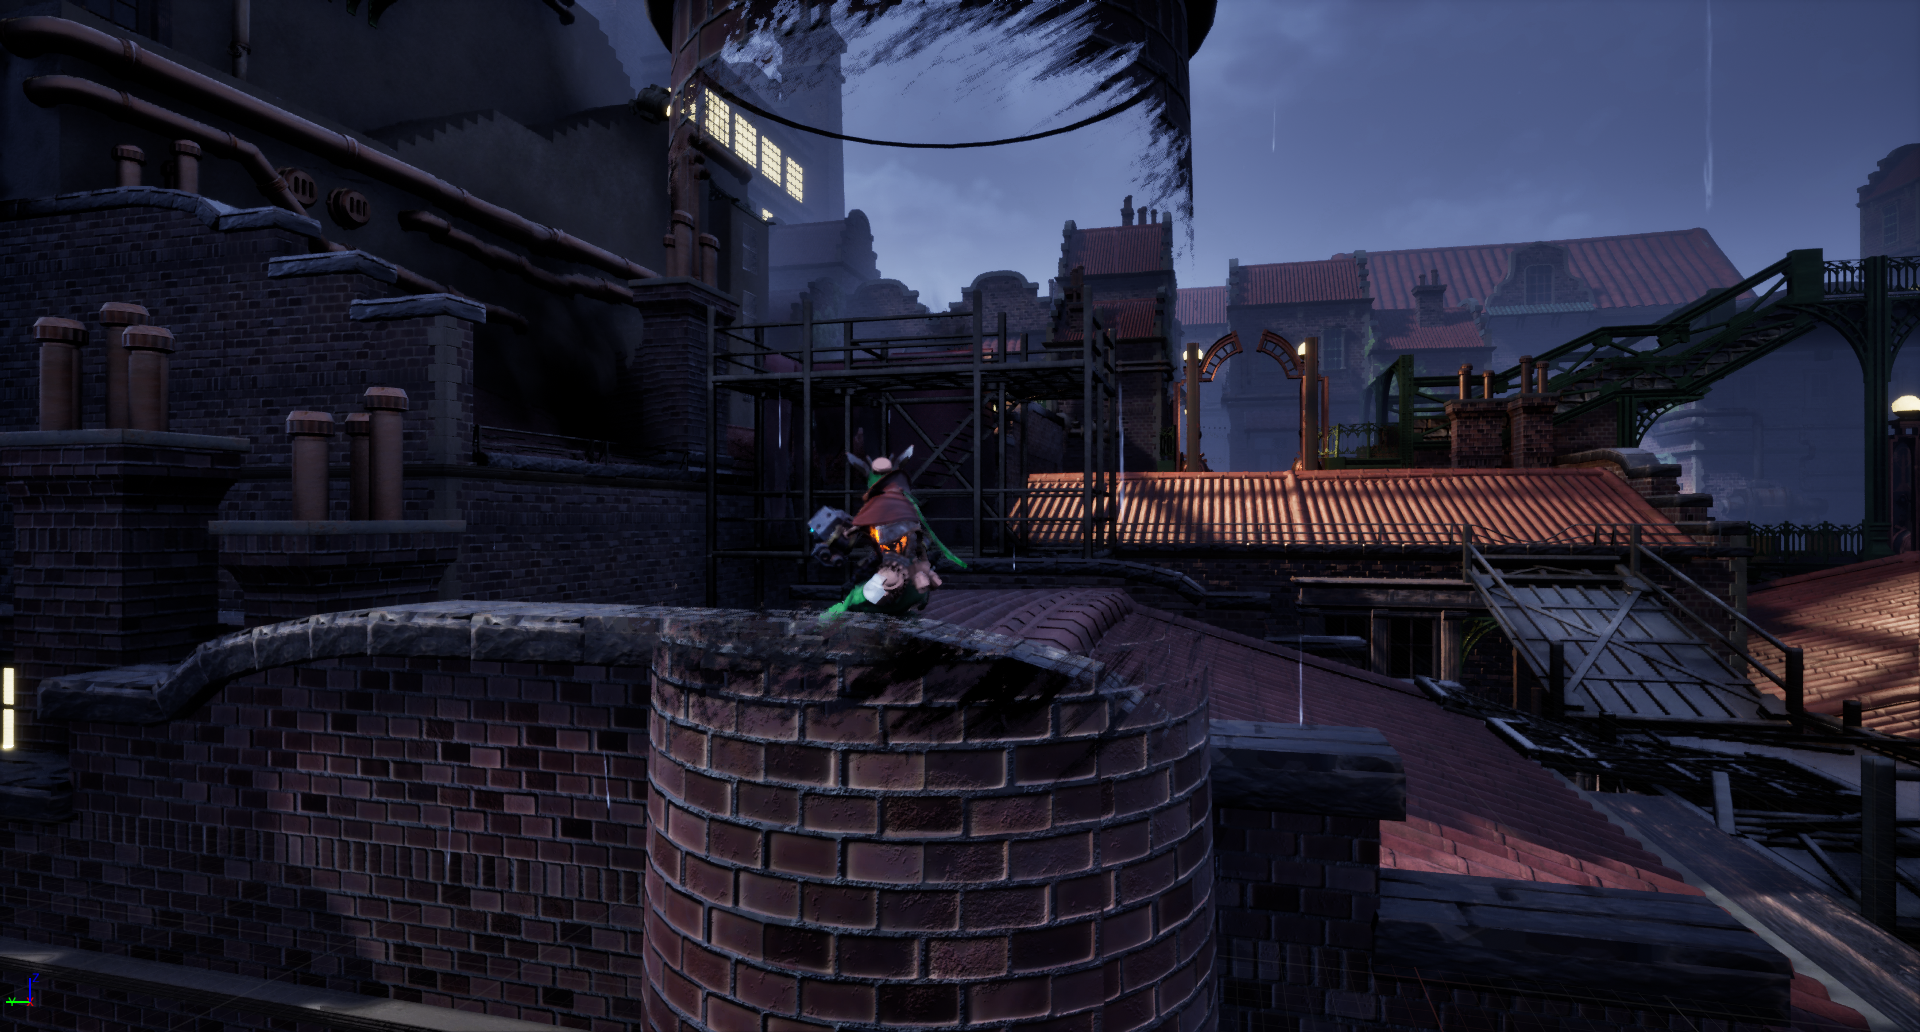
Stump Mask
Weapon Upgrade Workflow Improvements
I was tasked with buffing all sword upgrades, which ended up being time consuming due to the current setup. Upgrade values and logic were hardcoded across multiple files, and the UI text had to be updated manually as well. Even after going through everything, it was easy to miss parts.
To address this, I moved all upgrade values into curve tables, one per weapon, where each upgrade effect and its values were stored in a single place. This made it much easier to update and balance without having to track down scattered logic.
Curve Table
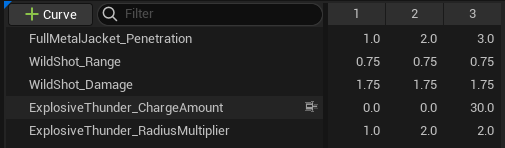
To access the data, I created a Get Rank Power node that takes an upgrade tag and returns the current rank along with its values from the curve table. These values could then be used directly for things like damage multipliers or other upgrade effects.
Blueprint Usage
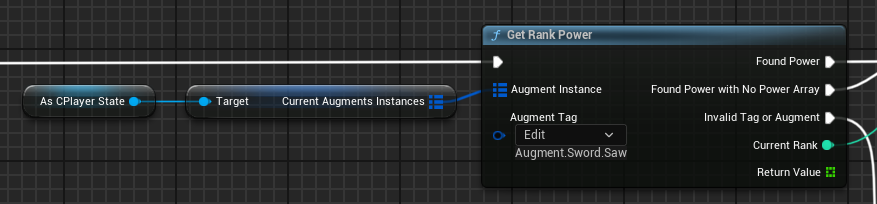
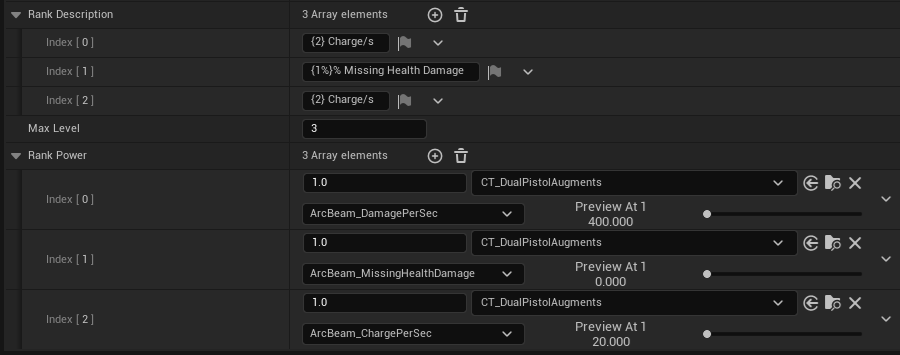
I also updated the UI to use the same data. A Rank Power array defines which values are available, and the UI text references them through simple formatting. It also supports formatting like converting stored multipliers into percentages when needed like 0.25 as 25%.
UI Usage
Gun Tracing Improvements
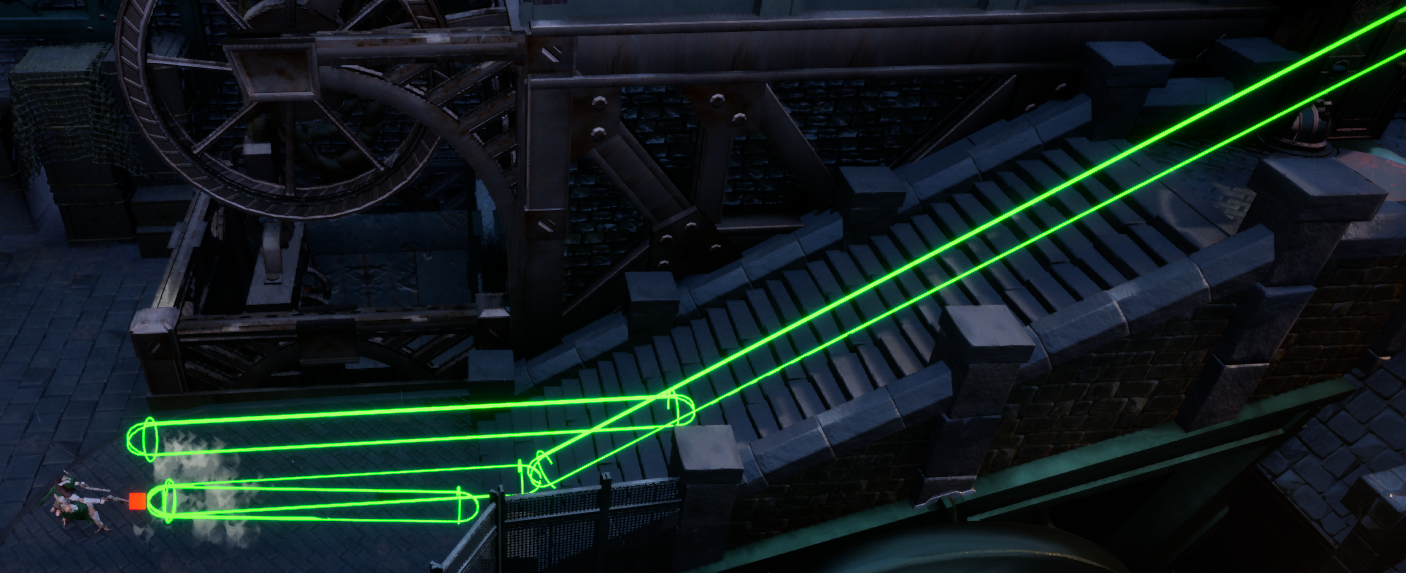
The original weapon tracing worked by doing a ground trace based on the camera direction. If this hits the ground, a second trace would be fired forward from the player to compensate for the typical camera angle, which is usually tilted down around 15–30 degrees. This worked well on flat terrain, but became inconsistent when dealing with elevation changes or ramps.
The issue was that small height differences could cause the trace to hit the wall or steps leading up to the elevated surface instead of the target itself. From the player’s perspective, the shot should pass over these and reach the top surface, but the trace would often stop short.
Forward Trace
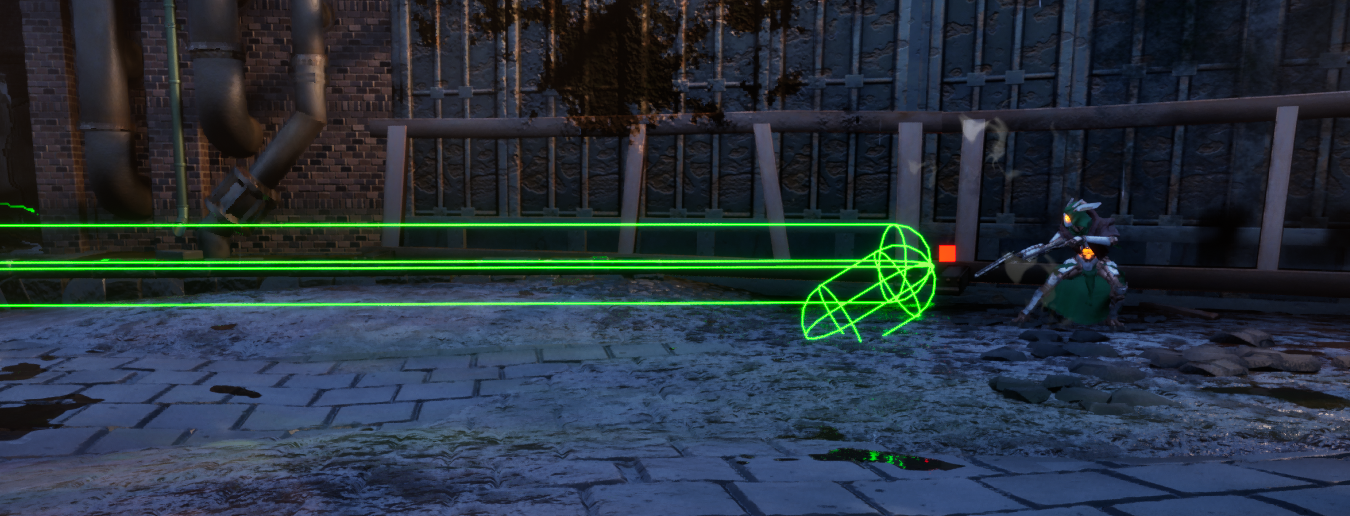
To address small elevation changes, I added logic where if the forward trace hits something close enough to the player, a third elevation trace is fired slightly higher up. This allows the shot to pass over minor obstacles and better match the player’s intention of hitting elevated targets.
Elevation Trace
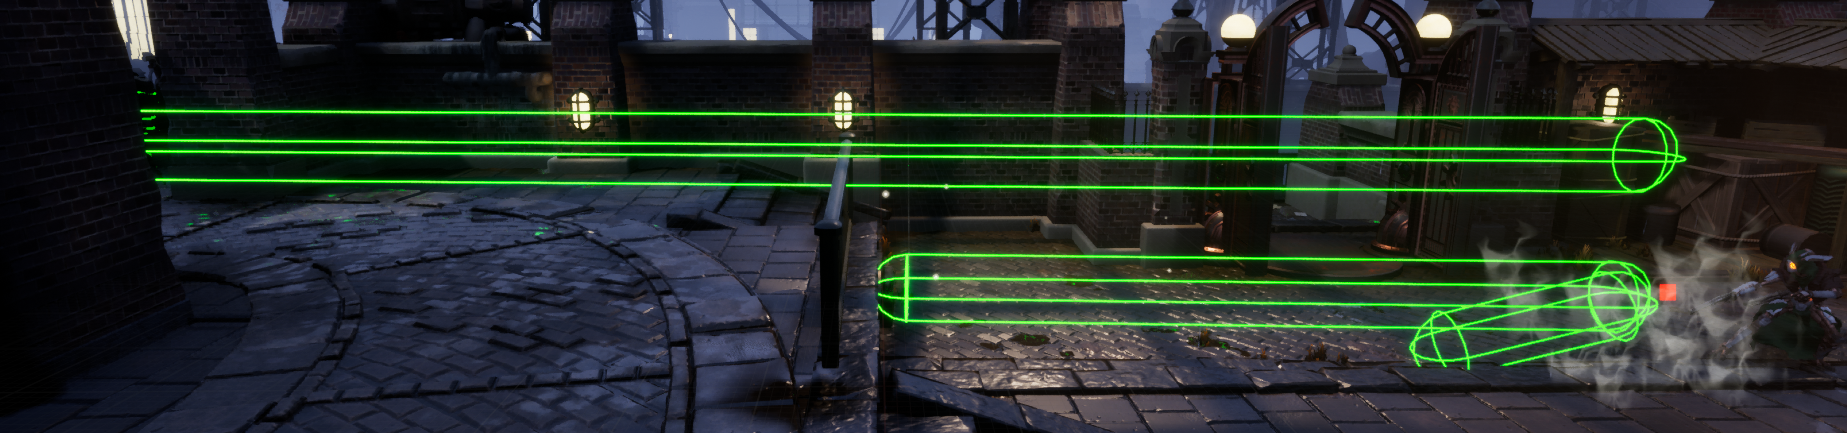
For ramps, the player's intention is usually to shoot up along the slope. However, the current tracing would only reach a short distance up the ramp, and fail on taller ramps where the shot feels like it should continue further.
To solve this, I check if the forward and elevation traces hit surfaces with similar hit normals, and if they do, I treat it as a ramp and continue the trace along the surface instead of stopping.
Ramp Trace